
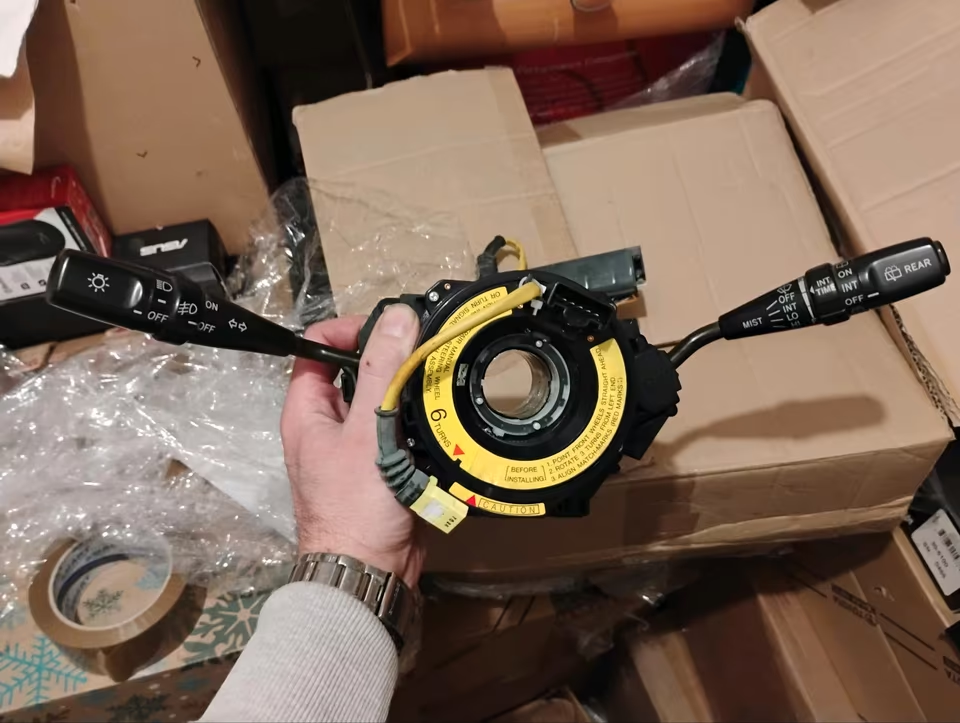
Toyota Supra MK4 LHD turn signal, lights, wiper switch
Toyota Supra MK4 (JZA80) LHD, the steering column switch assembly (often called the Combination Switch) is a critical interior component that differs significantly from the more common RHD Japanese domestic market (JDM) versions.
1. The LHD Difference
In the LHD Supra (US-Spec and Euro-Spec), the stalks are positioned specifically for left-hand drive ergonomics:
-
Left Stalk: Controls Turn Signals and Headlights (High/Low beam, Fogs).
-
Right Stalk: Controls Wipers (Front and Rear) and Washers.
-
Compatibility Warning: You cannot easily use a JDM (RHD) stalk assembly in an LHD car. The physical orientation of the stalks is mirrored, and the internal wiring harnesses have different lengths and pin-outs.
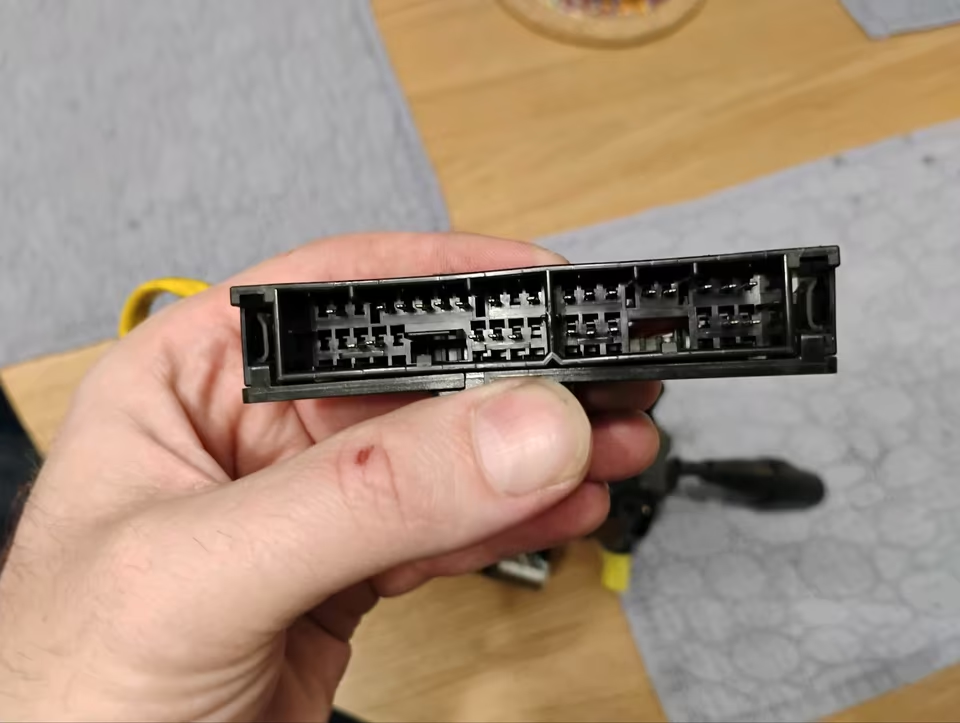
2. OEM Part Numbers & Variations
The assembly is often sold as a complete unit (Switch Assy, Turn Signal), but the stalks can sometimes be sourced individually if only one side is failing.
| Part Description | OEM Part Number (LHD) | Notes |
| Complete Combination Switch | 84310-1B120 | Fits 1993–1998 LHD models (GE and GTE). |
| Turn Signal/Light Switch | 84329-14030 | The left-side stalk specifically. |
| Wiper/Washer Switch | 84652-14640 | The right-side stalk specifically. |
-
Cruise Control: If your Supra has Cruise Control, the stalk is a separate third lever located behind the steering wheel at the 4 o’clock position (Part No. 84630-14190).
3. Common Failure Points
Since these parts are now over 30 years old, they commonly exhibit:
-
High Beam “Floppiness”: The internal plastic “nipple” that locks the stalk into the high-beam position wears down, causing the lights to flicker or stay on high.
-
Wiper Intermittent Failure: The internal copper contacts oxidize. This can often be fixed by carefully disassembling the housing and cleaning the contacts with isopropyl alcohol and a Q-tip.
-
Fade/Lettering Wear: The white icons on the stalks tend to yellow or rub off. While re-covering with decals is possible, many collectors prefer replacing the entire unit with a “New Old Stock” (NOS) item to maintain the luxury feel of the cabin.
4. Installation & Safety
Replacing the combination switch requires removing the steering wheel and the clock spring (spiral cable).
-
Airbag Safety: You must disconnect the battery and wait at least 90 seconds for the SRS capacitor to discharge before removing the T30 Torx screws on the side of the steering wheel.
-
Clock Spring Alignment: When the wheel is off, do not spin the clock spring. If it loses its “center,” it will snap the internal ribbon cable the first time you make a full U-turn after reassembly.
Reviews
There are no reviews yet.